How to Choose the Best Fiberglass Drill Bits?
Fiberglass looks tough, yet its surface can chip, fray, or shed irritating glass fibers when drilled carelessly. Choosing Fiberglass Drill Bits is not just about matching a bit to a hole diameter. The material’s thickness, reinforcement, and finish all affect the cut. A sharp, suitable bit helps limit rough edges and excess heat. Small details matter.
For many fiberglass panels, carbide-tipped bits or bits designed for composites are worth considering, but no single option suits every job. Check the manufacturer’s guidance and the bit’s intended materials before starting. A pilot hole may help with accurate placement, while a backing board can reduce breakout as the bit exits. Use steady pressure, avoid forcing the drill, and pause if the area becomes hot. Eye protection and suitable respiratory protection help reduce exposure to dust and loose fibers. Keep the work area clean, too.
This guide explores bit types, sizes, shank compatibility, and practical signs of wear. It also explains how speed and technique can affect the finished hole. Packaging claims can be confusing, and even a quality bit may perform poorly when dull or used at the wrong speed. The best choice depends on the panel and the task. A little testing on scrap material can reveal more than a confident label.
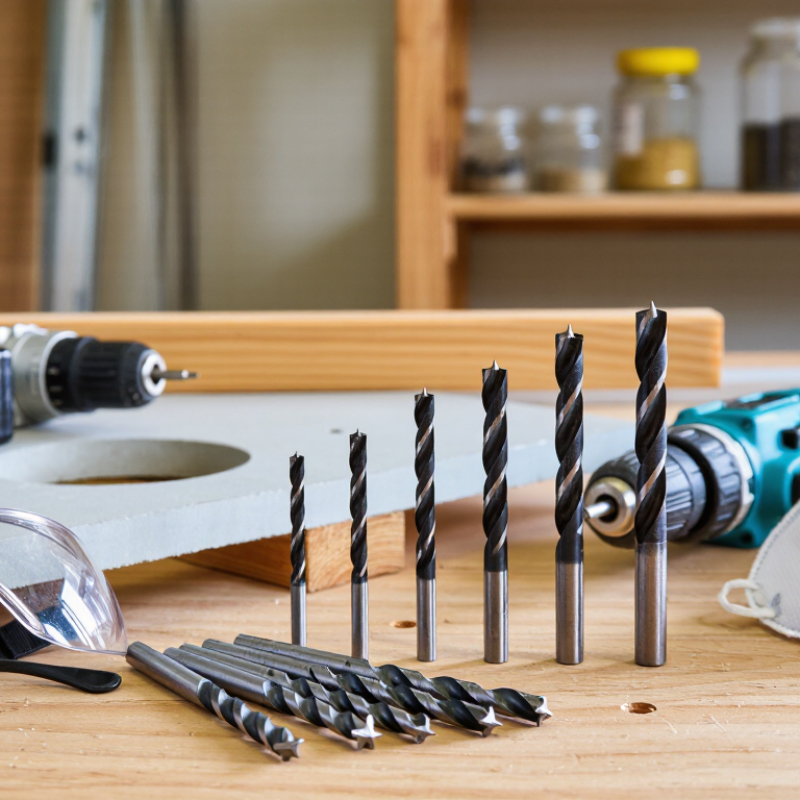
Identify Your Fiberglass Drilling Requirements
Before choosing a fiberglass drill bit, define the hole’s purpose, diameter, and location. A small pilot hole for a screw has different demands from a clean opening for a cable fitting. Check the panel’s thickness and construction, too. Fiberglass may sit over foam, plywood, or another core, and the bit must suit every layer it will meet. Start with the job. A sharp bit specified for composite materials can reduce heat and ragged edges; carbide-tipped options may last longer in abrasive laminates, while a suitable high-speed steel bit may work for occasional holes. Check the bit maker’s guidance rather than assuming one type fits every panel.
Consider finish and access. Holes near an edge or in a visible gelcoat surface need extra care, since breakout can spoil the finish. Mark the center, apply masking tape, and support the back with a scrap board when possible. Test on scrap. This detail is easy to miss: the backing material may need a different bit or slower feed than the fiberglass itself. Use steady pressure and pause if the bit or panel gets hot. Fiberglass dust can irritate skin and lungs, so wear eye protection, gloves, and a properly fitted particulate respirator, and collect dust at the source. A perfect-looking test hole is useful, but the real panel may still behave differently.
Compare Drill Bit Materials and Tip Designs
For fiberglass, bit material matters because glass fibers quickly dull ordinary cutting edges. The Composite Materials Handbook (CMH-17) gives typical E-glass filament tensile strength near 3.4 GPa; this is not a wear measurement, but it helps explain why a sharp edge matters. ASM Handbook, Volume 16, lists heat-treated high-speed steels commonly around 62–67 HRC and cemented carbides around 89–93 HRA. These are different hardness scales, so the numbers cannot be compared directly. In practice, high-speed steel is a reasonable choice for occasional holes in thin panels. Carbide usually holds its edge longer on abrasive laminates, but its brittle cutting edge can chip if the bit flexes.
Tip shape changes how the laminate enters the cut. A conventional twist bit is easy to find, yet its point can push fibers outward and leave ragged exits. A brad-point tip helps locate small holes, though its center spur may snag woven fibers. For cleaner holes, use a sharp carbide-tipped bit with a controlled point and support the panel’s back face. Keep pressure light. Let the edge cut, not grind. There is no perfect tip: the best choice depends on laminate thickness, backing, and hole tolerance. A slightly oversized test hole in scrap is worth the extra minute.
Choose the Correct Bit Size and Shank
Choose the Correct Bit Size and Shank
Match the bit diameter to the hole size, not merely to the screw or fastener label. Fiberglass laminates can splinter at the exit side, especially when the bit is oversized or pushed too quickly. For a clean hole, mark the center, support the back of the panel with scrap wood, and use a sharp bit at a controlled feed rate. A small pilot hole can help with larger openings, but it is not always necessary. Check the laminate thickness and any backing material before choosing the final diameter.
Shank fit matters just as much. ISO 235:2016 provides standardized dimensional data for drills, including shank forms and sizes; use it to verify that a bit matches the chuck rather than relying on appearance. A straight shank should sit fully inside the chuck jaws, with enough exposed length for the hole depth. If the shank is too large, it may not fit; if it is too small or poorly gripped, it can slip and mark the work. Fit matters. Before drilling, tighten the chuck and test the bit by hand. I would not assume every “fiberglass” bit suits every laminate; resin, reinforcement, and panel thickness vary, so a scrap-piece test is worth the minute.
Assess Durability, Coatings, and Safety
How to Choose the Best Fiberglass Drill Bits?
Assess Durability, Coatings, and Safety
Fiberglass can wear down a cutting edge faster than soft wood. Choose a sharp bit designed for composite materials, and check its stated use before drilling. A sturdy shank helps reduce wobble, while a clean cutting edge helps limit chipping around the hole. Feel the difference. If the bit starts squealing, wandering, or producing frayed fibers, stop and inspect it. Continuing to push can create heat and rough edges. Even a durable bit has limits.
Coatings can reduce friction and slow wear, but they cannot rescue a dull or damaged bit. A titanium-based coating, for example, may help the bit resist heat during suitable drilling; match it to the material and the bit maker’s instructions. Work at a controlled speed with light pressure, and use a backing board where practical to support the exit side. Dust matters. Fiberglass particles can irritate skin, eyes, and lungs, so wear sealed eye protection, gloves, and a well-fitting particulate respirator. Keep the work area ventilated, and clean dust with a suitable vacuum rather than sweeping it into the air. I have found that rushing the final few millimeters often causes more splintering than the initial cut. It is easy to overlook.
Match the Bit to Your Project and Drill Type
How to Choose the Best Fiberglass Drill Bits?
Match the Bit to Your Project and Drill Type
Fiberglass is a laminate, not a uniform block. Match the bit to the hole size, panel thickness, and finish you need. For small clearance holes, a sharp twist bit can work in a handheld drill. Place a backing board beneath the panel to support the exit face. For clean, repeatable holes, a drill press helps keep the bit square. Thin panels? Use gentle, steady pressure. Large openings call for a hole saw designed for composites, not a wood auger. Check the shank fits your drill chuck, and turn hammer mode off. Impacts can crack brittle resin.
Bit material matters. Fiberglass can wear cutting edges, so a carbide-tipped bit may last longer than ordinary high-speed steel. But carbide can chip if forced or misaligned. In a 2003 experimental study, Hocheng and Tsao linked exit delamination in composite drilling to drill geometry and thrust force. That finding supports controlling pressure; it is not a universal setting for every laminate. Start on an offcut. I still do. Use light, steady pressure, clear dust, and inspect the exit edge before drilling the finished panel. If the bit squeals, wanders, or heats the resin, pause and reassess its sharpness, support, and speed. The best choice depends on the panel and drill, not just the bit label.